First, Wooden Door Installation Knowledge
1. Installation Conditions
(1) A pre-cut opening must be available for the wooden door installation. It is strictly prohibited to install the door against the side walls.
(2) The wooden door should be installed after the flooring (such as tiles or stone) has been laid and the wall putty has been applied, sanded, and finished. Ensure that the wall is properly sealed at the edges and corners before proceeding with the installation.
(3) The humidity level of the installation area must be below 25%. If it exceeds this, a moisture barrier should be installed on the wall surface.
(4) The installation site should be clean, free from clutter, and no other construction work should be happening in the same area during the installation process.
2. Tools Required for Installation
Electric hammer, wood chisel, plane, flat drill, fine-tooth saw (gang saw), screwdriver, square ruler, tape measure, plumb line, level, electric drill, hole opener, stamp, and appropriate drill bits.
3. Materials Needed for Installation
Iron brackets, 60 nails, 25mm and 20mm self-tapping screws, 502 glue, cloth or cotton yarn, wood shavings, small wooden strips, pig hair brush, polystyrene foam, white glue, door locks, hinges, door closers, and moisture-proof materials for the wall.
Second, Step-by-Step Installation Process
1. Assemble the door panel first. Locate the door panel and vertical frame, align them according to the back number, and ensure the joints are flat and glued together properly.
2. Install the door panel into the opening. Secure it using small wooden strips around the edges. Check that both sides of the door are aligned with the wall and that the entire door is perpendicular to the ground. Confirm that the top and sides form right angles and that the door panel is not warped or twisted.
3. Install the door leaf. Begin by cutting the hinge grooves. The distance from the edge of the door leaf to the hinge groove should ideally be about 1/10 of the door's height.
4. Install the door lock. After attaching the lock, test the door leaf for smooth operation and check the gap between the door and frame to ensure it meets specifications.
5. Install the door trim. Cut the trim at 45-degree angles, sand it with a planer, and fit it into the door pocket. Apply glue to secure it to the door panel.
6. Attach the door closer in the designated location to ensure proper closing function.
Third, Tips for Installing Wooden Doors
Before starting, make sure all components of the wooden door are present and correctly sized. Verify that the door matches the dimensions of the opening and is ready for installation.
Here are some important tips to keep in mind:
1. Always place the door horizontally on the floor—never lean it against a wall.
2. Painted doors should be painted within five days of delivery to prevent damage.
3. Avoid prolonged exposure to direct sunlight, as this can cause warping or discoloration.
4. Keep the indoor environment well-ventilated to reduce moisture and prevent swelling.
5. Handle the door gently to avoid accidental impacts or excessive force.
6. Never hang heavy objects on the door, as this may damage the structure.
7. For corner or T-shaped doors, inform the customer to create a "fake wall" on the side without a threshold. The width should be at least 50mm, depending on the trim size, to ensure symmetry on both sides.
8. For single-swing, double-swing, or composite doors, the standard opening size is: door height = net height + 40mm, and door width = net width + 65mm (with a sleeve thickness of 32mm). Always confirm with specific product guidelines.
Fourth, How to Supervise the Installation
1. Ensure the door opening is clean and even.
2. Test the door leaf and lock mechanism for smooth movement.
3. Check that the gaps between the door and frame are consistent on all sides.
4. Confirm that the vertical frame is perfectly straight and not bent.
5. Make sure the door trim is tightly attached to the wall surface.
6. Inspect the finish for any scratches or damages.
7. After installation, clean the door thoroughly and guide the user on its proper use and maintenance.
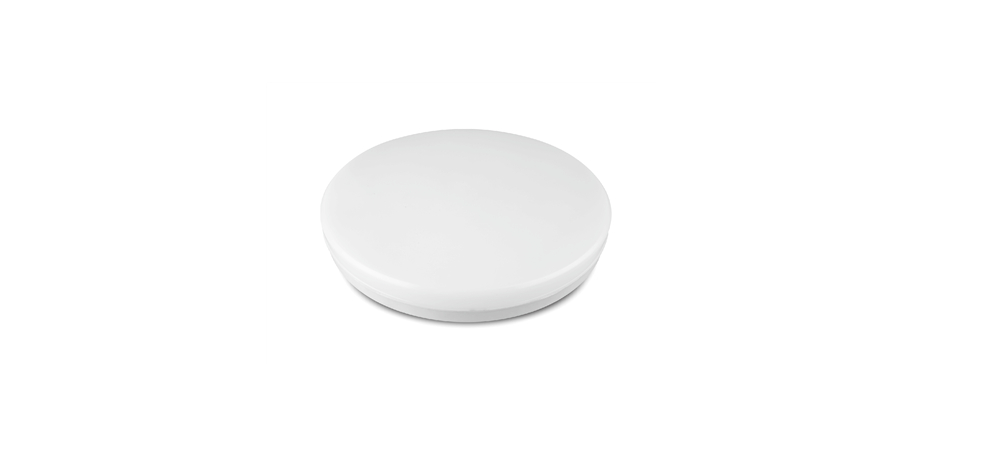
Circular emergency ceiling light is according to the type can be divided into maintenance or non-maintenance . It is made of solid polycarbonate material , with protection rating of IP65 , suitable for indoor and outdoor use . It comes with a premium rechargeable lithium-ion battery with automatic monthly and annual detection .

Emergency Light Ceiling,Industrial Emergency Light,Led Emergency Ceiling Lights,Ceiling Mounted Emergency Lights
Jiangmen City Pengjiang District Qihui Lighting Electrical Appliances Co., Ltd , https://www.qihuilights.com